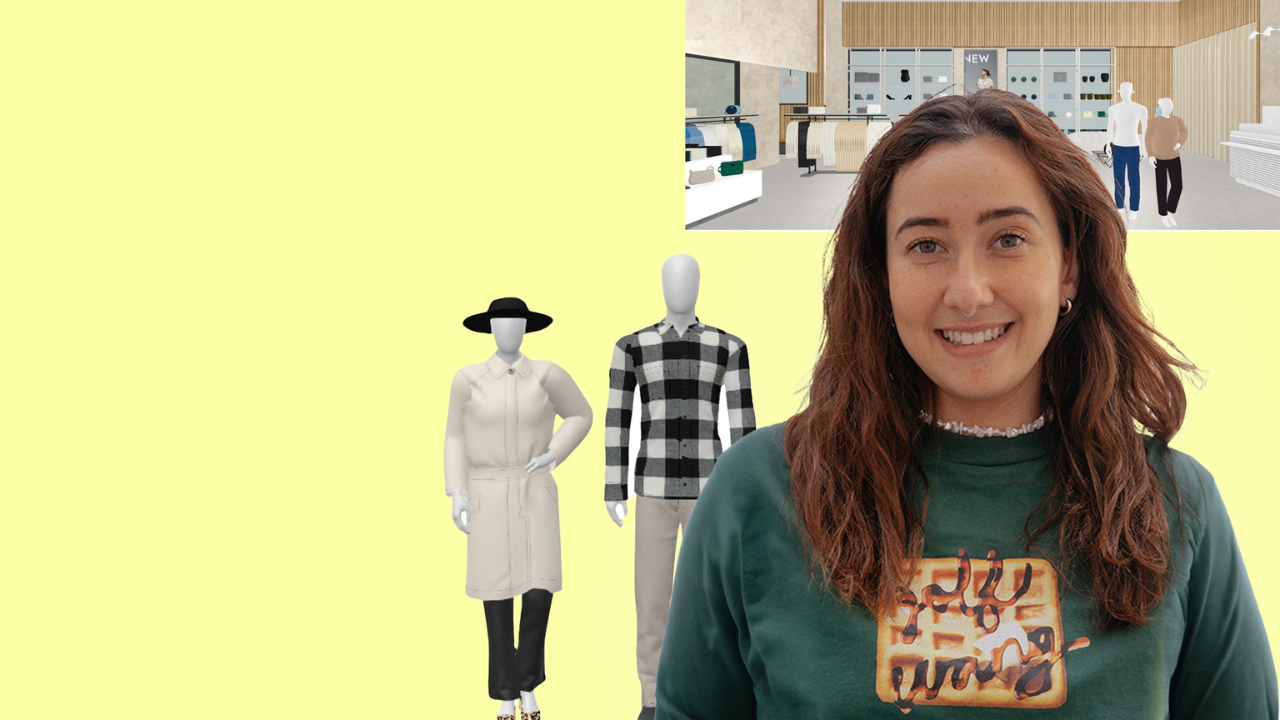
Maximize Retail Space: Mastering the 3D Planogram Editor

Maximize Retail Space: Mastering the 3D Planogram Editor
The 3D Planogram Editor is ideal for retail professionals, visual merchandisers, and store planners looking to simplify their workflows and enhance the in-store experience. In today's competitive retail environment, the optimal way to display products and maximize shelf space is crucial. This tool allows you to design layouts that not only catch the customer's eye but also ensure that every inch of shelf space is utilized effectively. Additionally, it supports a sustainable approach by enabling you to plan and execute store layouts that minimize waste and make the most of your existing resources. Whether you’re managing a single store or overseeing multiple locations, the 3D Planogram Editor helps align your merchandising strategy with your business goals and sustainability initiatives.
WHO IS THIS TOOL FOR?
The 3D Planogram Editor is ideal for retail professionals, visual merchandisers, and store planners looking to simplify their workflows and improve the in-store experience. Whether you’re managing a single store or overseeing multiple locations, this tool can help you ensure your merchandising aligns with your business goals.
Bring Imagination to Life
The Guidelines module in IWD offers powerful tools to create merchandising guidelines that can be shared across your retail network. This tutorial walks through the process of setting up a 3D guideline and using the editor to build visually compelling, consistent store layouts.
Step 1: CREATING A 3D GUIDELINE
To begin, click the + icon in the bottom right corner of the GUIDELINES module and select 3D GUIDELINE. You will then land on the guideline information sheet. Here’s how to fill in the necessary details:
1. Name: Give your guideline a clear, structured name. It's recommended to follow a naming convention shared with your team for consistency.
2. Campaign: While optional, assigning a campaign helps stores know when to apply the guideline. If you want to share the guideline on the IWD App, selecting a campaign is mandatory.
3. Information: Define the folder where the guideline should be saved. Only Super Admins can save in the global folder. Add a description to give more context to the guideline.
4. Catalog: Link catalog content, such as products and fixtures, that will be used to build the guideline. Only the selected content will be available during the creation process.
5. Market: Choose the market(s) for which this guideline applies. You can select or deselect markets depending on where the guideline will be implemented.
Once all the details are filled in, hit Save and proceed to the editor.
Step 2: Using the 3D Editor
To begin building your guideline, open the 3D Editor—this must be installed separately from the 2D Editor. The 3D Editor offers more functionalities, allowing you to create more dynamic and immersive visual merchandising plans.
With the 3D Editor, you can create detailed layouts, visualize store spaces in three dimensions, and ensure that all stores implement the merchandising strategy consistently and effectively.
FINAL THOUGHTS
The 3D Guideline feature in IWD is an essential tool for retail teams looking to optimize store layouts with enhanced detail and flexibility. By following this guide, you’ll be able to quickly create and share your merchandising guidelines across all markets and stores.
MORE ARTICLES BY THIS AUTHOR

Caroline
I am a Brand Image leader working in Retail and tech passionate about 360° storytelling. I'm also keen on travel and wildlife. I have a strong experience in building and implementing communications strategies (consumer, corporate, BtoB, social media) consistent with marketing levers and business needs. I have always been working in fast-paced environments and have experienced early days of companies that have known tremendous growth.


.png?width=330&name=BLOG%20COVER%20(1200%20x%20630%20px).png)
